
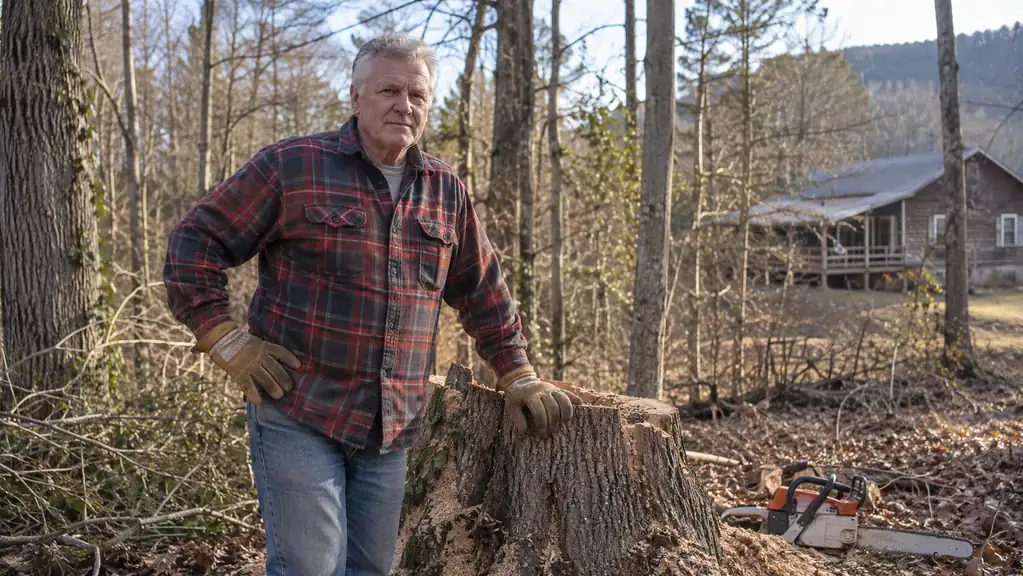
If you own even a few acres of Tennessee woods, you know the drill. You cut a sweetgum down, feel good about it for about a week, and then you walk past the stump and see green shoots coming up around the edges. Cut those off and it sends up more. Leave it and in two seasons you have a multi-stemmed tree that is harder to deal with than the first one was. I have been clearing the overgrown sections of my 22 acres outside Crossville since I bought the place in 2019, and I can tell you that cutting the tree is only half the job. Killing the stump is the other half.
That is where the Bonide Stump-Out comes in. It is an 8 ounce concentrate that you apply undiluted to a fresh cut, and it stops the stump from resprouting. It is not a fancy tool and it will not grind a stump down to dirt for you. What it does is save you from fighting the same sapling for the next ten years. I have used it on privet, blackberry bramble, sweetgum and old cedar along a collapsed fence line, and this is the step-by-step method that worked for me.
Start With the Right Tool for the Job
The Bonide Stump-Out is an 8 ounce concentrate that comes with an applicator, and you use it right out of the bottle on a fresh cut. No mixing, no measuring, no special sprayer for stump work.
Amazon Check Today's Price on Amazon →How the Bonide Stump-Out Works
I am not a chemist, and I am not going to pretend to explain the science. What I know from using it is that a stump treated the same day it is cut stays dead, and a stump left untreated comes back. The listing says the product eliminates weeds within 1 to 6 weeks, and the instructions say to use it undiluted on stumps. That tells you it is doing its work below the surface, not just burning what it touches.
The bottle is small, 8 fluid ounces, but a little goes a long way when you work it into the cut instead of splashing it around. I have treated a whole season's worth of stumps on my place with one bottle, because the applicator puts the concentrate exactly where it needs to be.
Why a Cut Stump Keeps Coming Back
The reason a cut stump resprouts is simple. The roots are still alive, and the tree wants to live. Most species, especially sweetgum and privet, will push new growth from the stump or the root crown within a few weeks of being cut. If you just cut the sprouts off, the roots keep sending up more. The only way to stop it is to get a herbicide into the stump while the cut is fresh, so the chemical moves down into the root system before the tree seals the wound.
Timing matters. The listing says it works within 1 to 6 weeks, and in my experience the faster you treat a cut, the better. A fresh cut takes the chemical in. A cut that has been sitting for a month has started to dry and seal, and you will get a weaker result. So I plan the cutting and the treating as one job, not two.
What You'll Need Before You Start
You do not need much. A chainsaw or bow saw to make the cut, a drill with a bit around the size of your applicator tip if you are working on a big stump, the Bonide Stump-Out bottle with its applicator, and a can of spray paint or a tarp to mark treated stumps so you do not double treat. I also keep gloves and eye protection handy, because you are handling a concentrate.
One note on the drill. If you are treating a dozen stumps in an afternoon, the drilling is the slow part. I sharpen my bit before I start and do the drilling for the next stump while the chemical soaks into the last one. It is not a race, but it does not have to take all weekend either.
Step 1: Cut the Stump Low and Level
The lower you cut, the better. A stump cut close to the ground is easier to treat, easier to cover, and eventually easier to rot away. I cut mine at six inches or less when I can, and I try to leave a level surface so the chemical does not run off one side.
If you are cutting a tree that is leaning or hung up, take the time to get it down safe first. I spent my working life on a county road crew, and I have seen more close calls from rushed cutting than from anything else. Make sure the tree is not under tension, keep your escape path clear, and do not cut above your head.
Once the tree is down, clear the loose bark and sawdust off the top of the stump. The chemical needs to reach live wood. If the cut is smooth and clean, you are ready to treat it.
Step 2: Drill Holes in the Top of the Stump
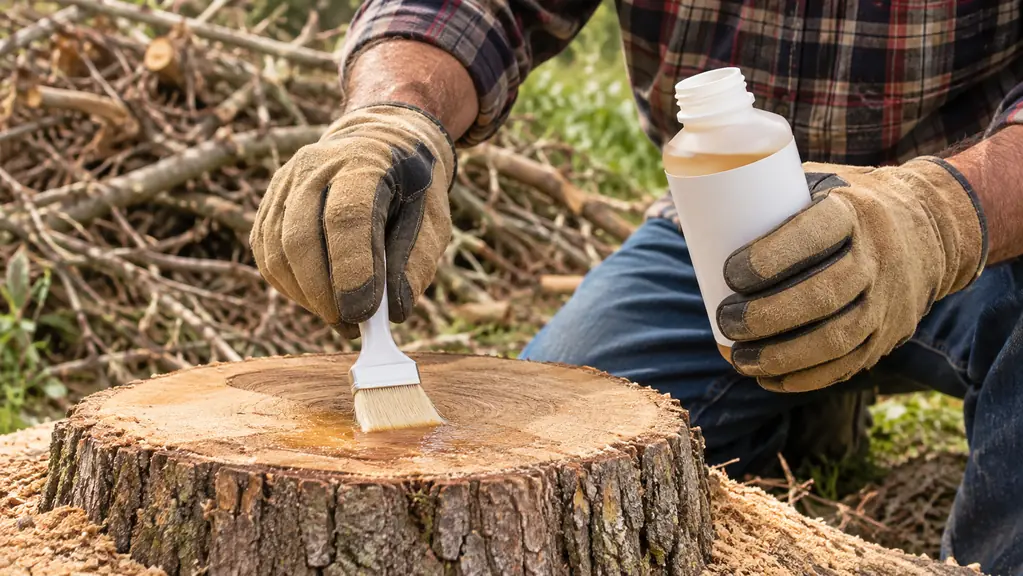
For a small stump, six inches across or less, you can skip the drill and apply the Bonide Stump-Out directly to the cut surface. For anything bigger, I drill a ring of holes around the top edge, about an inch deep and an inch or two apart, angling them slightly toward the center. The holes give the concentrate a place to pool and soak into the outer ring of the stump, which is where the living tissue is.
Use a drill bit that matches the applicator tip as closely as you can. The goal is a hole that the chemical can fill without running straight down and out the sides. I have found that a ring of holes near the bark line works better than a few holes in the middle, because the layer that carries water and nutrients is just under the bark.
Do not drill all the way through. You want the chemical to stay in the stump, not drain into the soil. And do not drill so many holes that you break the stump apart; you are treating it, not making firewood.
Step 3: Apply the Bonide Stump-Out Undiluted
This is the step most people get wrong. They treat the stump like a weed and dilute the chemical, or they spray the top and call it done. The Bonide Stump-Out is meant to be used undiluted on stumps. The bottle is an 8 ounce concentrate, and it comes with an applicator, so you can work the product right into the cut surface and the holes.
Cover the entire top of the stump, especially the outer ring and any drilled holes. You want the wood to look wet. On a big stump I go over it twice, wait a few minutes for the first pass to soak in, and then hit the low spots again.
Take your time and work the applicator into the grain. The active ingredient, 3,5,6-Tricloro-2-Pyridinyloxyacetic Acid, needs to get below the surface to move down into the roots. A quick spray across the top will not do it. I treat stumps the same way I used to treat a stubborn patch of brush on the county right of way: slow, thorough, and a little bit fussy.
Step 4: Cover the Stump and Give It Time
Once the chemical is in, I cover the stump with a piece of black plastic or a tarp and weigh it down with a rock or a chunk of firewood. Covering does two things. It keeps rain from washing the concentrate out before it has soaked in, and it blocks light, which slows the stump's last attempt to push new growth.
Then you wait. The listed window is 1 to 6 weeks for weeds, and that matches what I have seen on foliage. On stumps, the die-back is slower because the tree is dying from the roots up. Give it a month before you judge it. The stump will not disappear; it will just stop growing.
During that month, check on it. If you see sprouts pushing up around the base, cut them off and dab a little concentrate on the fresh cut. That is normal. It means the roots are still fighting, and each treatment weakens them.
Step 5: Check, Reapply, and Finish the Job
After four to six weeks, give the stump a good look. Knock any sprouts off and see if the wood is starting to soften. A stump that is done will feel punky on top and will not push green growth. If you still see live shoots, treat it again the same way. Some of the bigger sweetgum stumps on my place took two treatments before they quit.
Once the stump is dead, you have options. You can leave it to rot, which takes years, or you can work it out with a tractor if you have one. On my place I have an older compact utility tractor, and I have pulled a few dead stumps out after a good rain softened the ground. A dead stump pulls a lot easier than a live one, because the roots have stopped holding on.
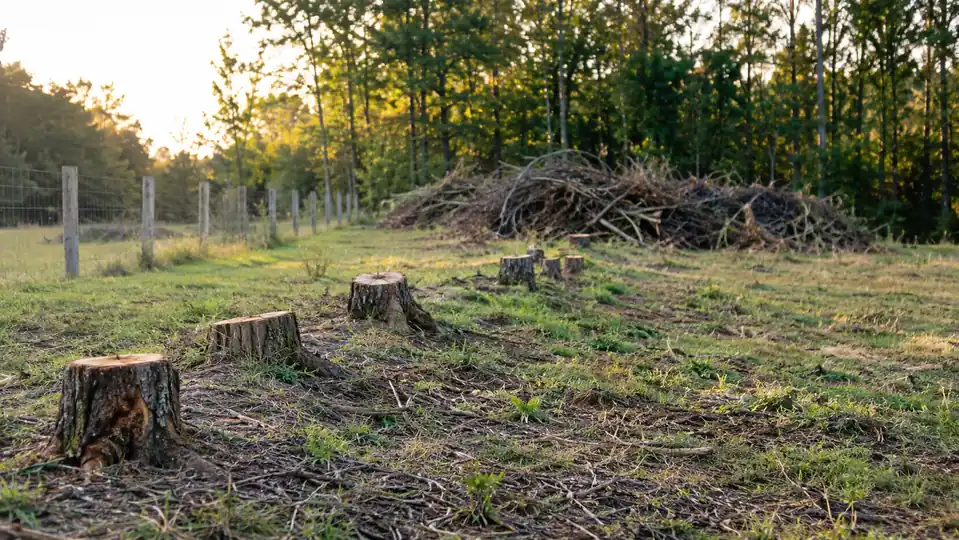
The last part of the job is the brush pile. I stack the cut saplings and vines and burn them in the fall when the county allows it. Burning the brush is what makes the clearing feel finished, and it keeps the blackberry bramble from rooting where it lands.
What Else Helps
The Bonide Stump-Out is the tool I reach for on stumps, but it is not the only tool in the shed. The same product can be used as a foliar spray on vines and broadleaf weeds. The listing says it can be applied with a hose-end or tank sprayer, and I have used it that way on privet and blackberry along the fence line. For that job, follow the directions on the label rather than the undiluted stump method; the two jobs are not mixed the same way.
The other thing that helps is a marking can. I spray a dot of paint on every treated stump so I can tell at a glance what has been done. On a big clearing project it is easy to lose track, and a treated stump and an untreated stump look identical until the sprouts show up.
For larger clearing jobs, the honest advice is to know when a homeowner tool is not enough. If you are taking out a hundred stumps or clearing a hillside of mature cedars, rent a grinder or a mulcher and save your back. I rent equipment when the job calls for it. The Stump-Out is for the stumps you cut yourself, the ones that would otherwise come back and undo your work.
Some of the bigger sweetgum stumps on my place took two treatments before they quit.
The Bottom Line
If you are clearing your own ground, the Bonide Stump-Out earns its place in the truck. It will not grind stumps or move dirt, and it will not turn a bad cutting job into a good one. What it does is finish the job you started, so the sweetgum you cut down stays down. For a landowner working a few acres at a time, that is worth a lot.
Do the Job Once and Be Done With It
If you are clearing your own ground, the Bonide Stump-Out is the simplest way to make sure the stumps you cut stay dead. An 8 ounce bottle with an applicator treats a lot of stumps when you use it right.
Amazon Check Today's Price on Amazon →