
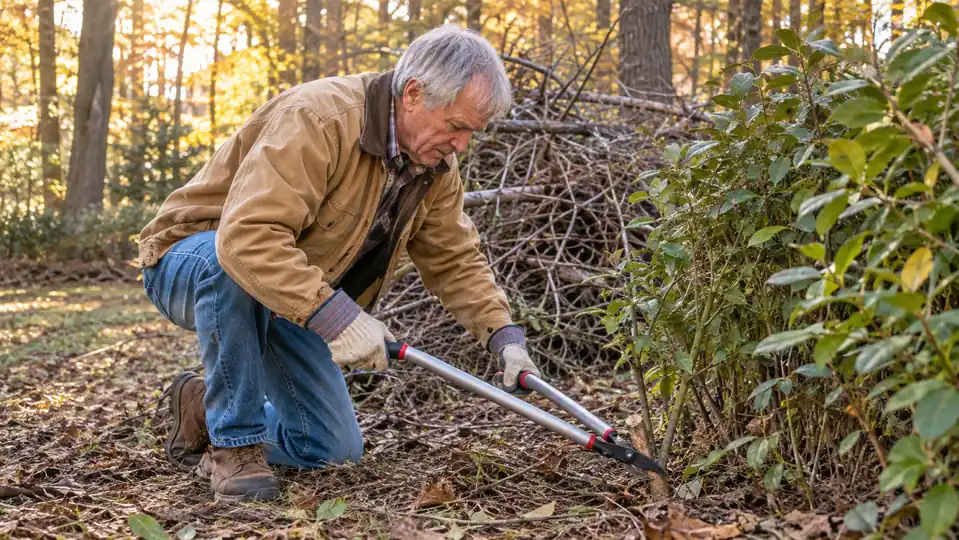
When we bought the 22 acres back in 2019, the fence line along the back of the property was already gone. Privet had taken the low ground, blackberry bramble was climbing the old posts, and sweetgum saplings were coming up in rows like they had been planted on purpose. I knew the tractor would handle the open stuff. I also knew I was going to spend a lot of weekends bent over with a cutting tool in my hands, working through the things the tractor could not reach. I tried a few different tools before I settled on the Fiskars PowerGear2 loppers, and this is the order of work that actually got the job done.
This is not a review, exactly. It is the sequence I use when I walk out to a section of overgrown ground, and the reasoning behind each step. If you are staring at your own fence line and wondering where to start, this is where I would start. I am going to walk you through five steps, from the first walk-through to the burn pile, and I will tell you what I wish someone had told me before I started. None of it is complicated. It is mostly about doing things in the right order and letting the tool do the work.
The lopper that turns a 2-inch sapling into a clean, single cut
The Fiskars PowerGear2 uses the gearing in the pivot to multiply your cutting force, so a 2-inch stem cuts clean with a single squeeze. The bypass blade leaves a smooth cut that heals faster than a crushed one, and the low-friction coating keeps the blade from gumming up on green wood. It comes with a full lifetime warranty, which matters when you are working bramble and old fence wire.
Amazon Check Today's Price on Amazon →Step 1: Walk the whole section before you cut anything
The first time I cleared ground, I started cutting the closest privet and worked my way in. That was a mistake. Halfway through the morning I hit a length of old barbed wire buried in the bramble, and I spent the next hour untangling it from the blade. Now I walk the whole section first, from one end to the other, looking for wire, fallen timber, and stumps hidden under the brush. I go slow on this pass. It is the cheapest hour of the whole job.
I carry a handful of flag markers and mark anything that is not a plant. Old fence wire, a rusted post, a rock the size of a watermelon. It takes twenty minutes and it saves you from wrecking a blade or a wrist. The Fiskars loppers have a fully hardened alloy steel blade with a serrated edge, and it is a good blade, but no blade is made for buried fence wire. I also look up as I walk. A dead limb hanging in a tree is easy to miss when you are watching the ground, and it is the one thing in this job that can actually hurt you.
This is also the time to decide what you are keeping. Not everything along a fence line needs to go. I leave the oaks and the hickories and cut around them. The privet and the sweetgum saplings are the problem, and they are the ones that have to come out. Mark the keepers with a different color flag so you do not have to make the call twice.
Step 2: Cut the privet at ground level, crown first
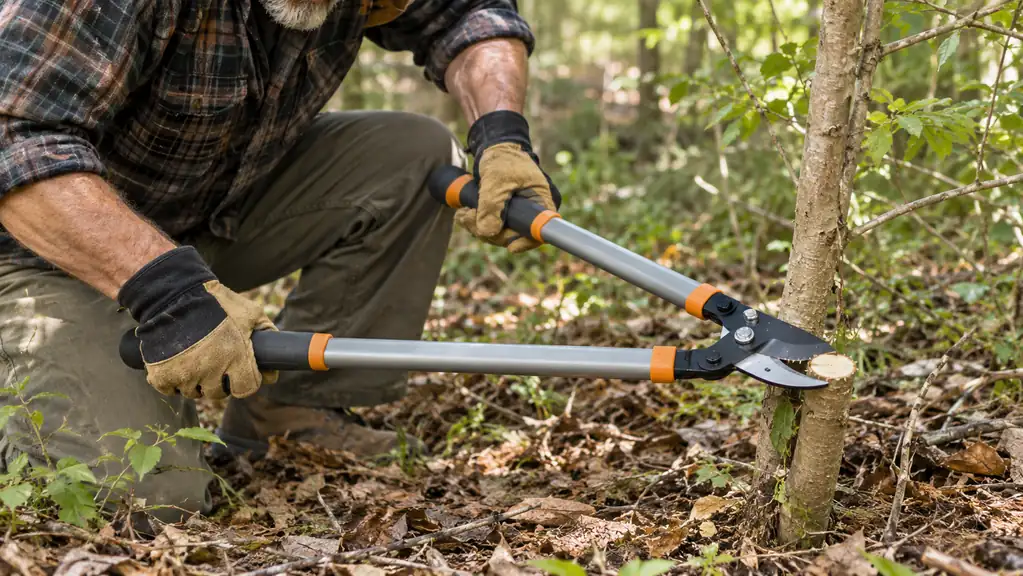
Privet is the worst of the fence line, in my experience, because it does not grow like a tree. It grows in a crown, with a dozen stems coming up out of one root ball, and if you simply cut the tops off, it sends up more. The way to beat it is to cut every stem at ground level, as low as you can get the blade, and then deal with the stump. You are not going to kill the root in one afternoon. What you are doing is taking away its light and its energy, and the resprouts get weaker every time you cut them.
I work around the crown, cutting the outer stems first and working inward. The 32-inch handles give me the reach to get the blade down flat against the ground without crawling, and the bypass blade leaves a clean cut that does not crush the stem. Most privet stems are well under 2 inches, so the cut capacity of these loppers handles them without any real effort.
The low-friction coating on the blade matters more here than anywhere else. Green privet is sappy, and a plain steel blade gums up after a dozen cuts. This one stays slick, so I am cutting instead of stopping to scrape the blade. I wipe it down at the end of the day and it is ready to go the next morning. That sounds like a small thing until you have spent an afternoon scraping sap off a blade with your thumbnail. On a long day, the difference is measured in hours, not minutes.
Step 3: Take the saplings in order, smallest first
Sweetgum saplings come up thick on this ground, and they are deceptive. They look skinny at the top, but the base is tougher than it looks. I cut them in order of size, starting with anything under an inch, because those go with almost no effort and they clear the ground so I can get to the bigger ones with room to work.
For the thicker saplings, up to the 2-inch limit, I position the cut as low as I can and use the full length of the blade rather than just the tip. The PowerGear2 gearing multiplies the force at the pivot, which is the difference between a clean cut and a wrestling match. I have cut 2-inch sweetgum with a single squeeze, and it is the gearing doing the work, not my shoulders. On the rare stem that takes two squeezes, I do not force it. I move the blade half an inch and cut again.
One thing I learned the hard way: do not twist the loppers to break a stem that did not cut all the way through. That is how you bend a blade or pop a handle. If the first cut does not go through, reposition and cut again. The serrated edge grips the stem so it does not slide, but it still needs a clean, straight squeeze. A clean cut is the whole point of a bypass blade.
Step 4: Bundle the bramble and vines before you cut
Blackberry canes are a different problem. They are soft and floppy, and they grab at your pants and sleeves while you are trying to work. I have found it is faster to gather a handful of canes together, hold them with one hand, and cut the bundle at the base with the other. The bypass blade slices through a bundle of green canes cleanly. Pull the cut canes toward the cleared side and drop them on the pile, and the patch stays open instead of closing back over you.
Vines are the sneaky ones. Honeysuckle and wild grape wrap around the young trees, and if you cut the vine at eye level, the part up in the tree dies and hangs there, ready to drop on your head later. I cut vines in sections, low first and then higher, so nothing is left hanging in the canopy.
This is the step where the rounded, ergonomic handles with SoftGrip earn their keep. When you are cutting a hundred small stems in a row, the grip is the difference between a productive afternoon and a blister by noon. The 3.9-pound weight of these loppers is light enough to carry along the whole fence line without feeling it, and the ambidextrous design means I can switch hands when one gets tired.
Step 5: Pile as you go, and sort as you pile
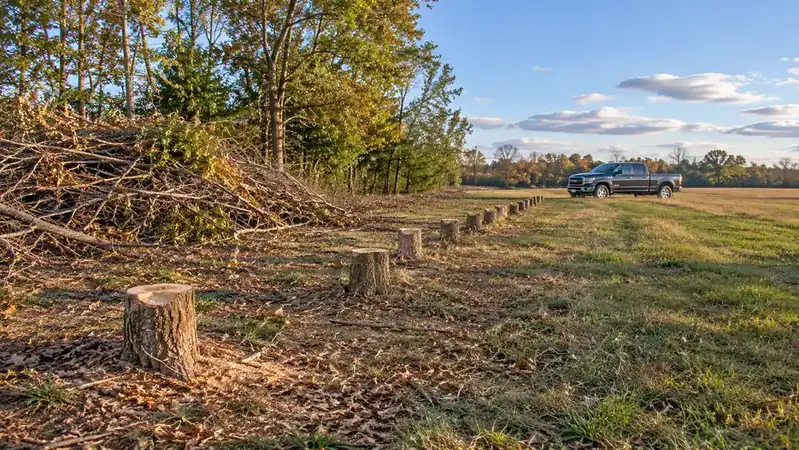
The biggest mistake I made early on was cutting everything first and then looking at a mess. Now I pile as I go. I keep three piles: one for the burn pile, one for anything I want to chip, and one loose pile of brush I leave for the wildlife. The burn pile goes in the open, away from the fence and any standing trees.
A tarp makes this easier. When a pile gets to a good size, I drag it to the burn area on the tarp instead of carrying armloads across the section. This is also the time to go back and hit the stumps you missed. Privet crowns will resprout if you leave a single stem, so a second pass a few weeks later catches what you missed the first time.
At the end of the day I wipe the blades down, give them a light coat of oil, and hang them up in the shop. The full lifetime warranty is good to know, but in three seasons of weekend clearing, I have not needed it. The blade is still cutting clean, and the bypass edge still leaves the kind of smooth cut that heals fast. I have replaced the handles on cheaper loppers twice in that same time, so the aluminum handles on these are not just a spec sheet detail.
What Else Helps
The loppers are the main tool, but they are not the only tool. A folding pruning saw handles anything just over the 2-inch limit, and a digging bar is the right answer for a privet crown you want gone for good. I wear leather gloves with a cuff and eye protection, because blackberry canes snap back at you. And I keep a sharpening file in the truck. A bypass blade stays sharper longer if you touch it up now and then instead of waiting until it is dull. A dull blade is not just slower. It is more dangerous, because you push harder and the tool slips.
And know when the loppers are not the tool. Anything over 2 inches, anything overhead, and any job measured in acres instead of feet, that is when I rent the tractor attachment or call a neighbor with a bigger machine. The Fiskars PowerGear2 loppers are the right tool for the long, slow work of clearing a fence line by hand. They are not a substitute for a skid steer, and I would not want someone to buy them thinking they were.
One more thing: take breaks. I set a rule for myself that I sit down for ten minutes every hour, drink water, and look at the section I have cleared. It sounds soft, but it is the difference between clearing ground every weekend and burning out after a month. The work is not going anywhere. The fence line will still be there next Saturday.
If you are new to this, start with a small section. Twenty feet of fence line is a good first afternoon. Get the feel of the tool, learn how the gearing bites, and build the habit of piling as you go. The rest of the line will still be there, and it will go faster than you expect.
I cleared about 150 feet of fence line in one long afternoon, and my hands were not cramping at the end of it. That is the part I did not expect.
For weekend clearing jobs, these are the loppers I reach for first
If you are facing your own overgrown fence line, the Fiskars PowerGear2 loppers are the tool that makes the job a series of clean cuts instead of a full-body workout. The 2-inch cut capacity, the low-friction coating, the 32-inch reach, and the full lifetime warranty are the reasons they have been in my hands every clearing weekend for three seasons.
Amazon Check Today's Price on Amazon →